Having to cut back on luxuries is par for the course in this economy. Sometimes, you see an item that just screams "Buy me", and prudently you have to fight not to give into temptation.....right?
Or, you can just work some magic and make something that is just close enough to haute couture that your friends won't be able to tell the difference.
 |
| The scarf that inspired it all By Matthew Williamson Picture from "How to Spend It" Financial Times |
Well, its's a good thing we took al those fashion classes in school and know all about fabric dyeing and painting. We made our own DIY version for less than it takes to fill up the tank of your car. Now that's saving money! We aren't yet out of then holiday season, with Easter and Mother's Day coming up; so this beauty would make a fine present and you'll be sure to get, "Oh, you shouldn't have!" (the good kind, not the diamond encrusted underwear kind).
Supplies
-You can sew your own silk scarf or you can save time and money by ordering from Thai Silks
-Rit Dye (We bought Tangerine and Black-powdered not liquid)
-Salt
-Crock Pot or Metal Pot (Use something you picked up at Goodwill, you won't be cooking in this)
-String (we used some white bamboo yarn leftover from a knitting project)
-PVC Pipe (from your local hardware store)
-Paintbrush or Sponge
-Gloves (so you don't dye your hands)
You want to get your day bath ready first. Get your crock pot (or pot) and fill it with water. You want enough water that the fabric can move freely (this is more important when dyeing large quantities of fabric). Add some of the tangerine dye to the water and some table salt. The amount of dye will determine the punch of color, so use your judgement or have a couple of white cotton pieces of fabric to do some test swatches. We dipped our edges first.
 |
| Dipped top and bottom of scarf |
 |
| Dipping the sides of the scarf. |
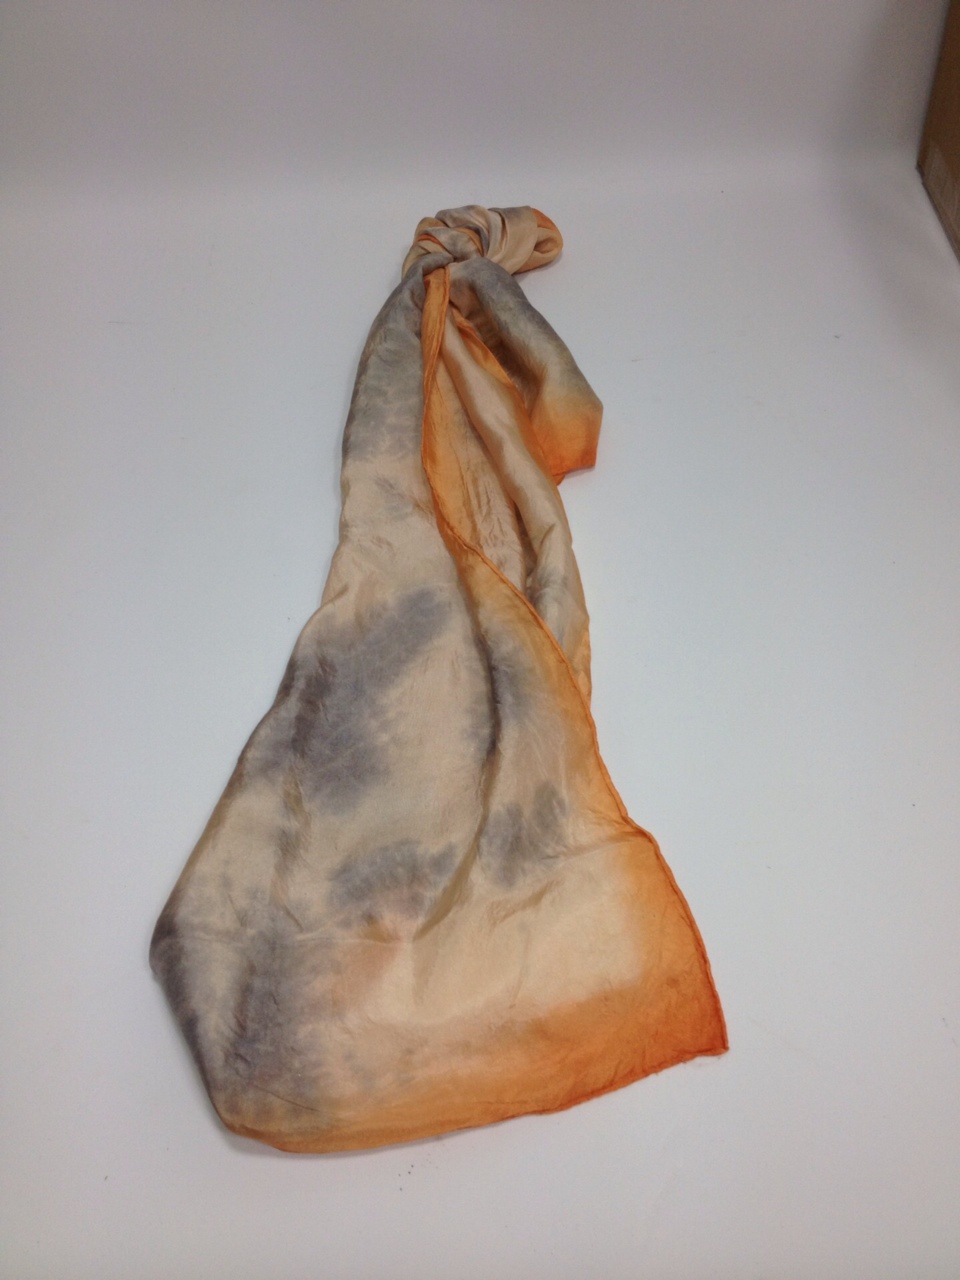
Next, you want to dye the body of the scarf. Using the same dye bath, we put the entire scarf in and swirled it around for a few minutes. Again, the longer it sits in the dye, the deeper the color. We don't want a very deep color.
 |
| Scarf in the dye bath |
 |
| A scarf prepped for dyeing |
Prepare another dye bath, this time using black instead of tangerine. Now for the application, either using a brush or a sponge ( I prefer sponge) apply the black dye within the lighter orange color on the scarf. When you have your dye applied, let it set in for a bit. Wash the dye out of the scarf while it is still wrapped! When the water runs clear, then you can unwrap the scarf and give it a final rinse. You can let the scarf air dry, or pop it in the dryer on the delicate setting. Lightly iron to remove wrinkles and ...
Voilà! A hip, hand made scarf in the color of the year.
No comments:
Post a Comment